Phase 1 - Final work - From The Painting to The Building


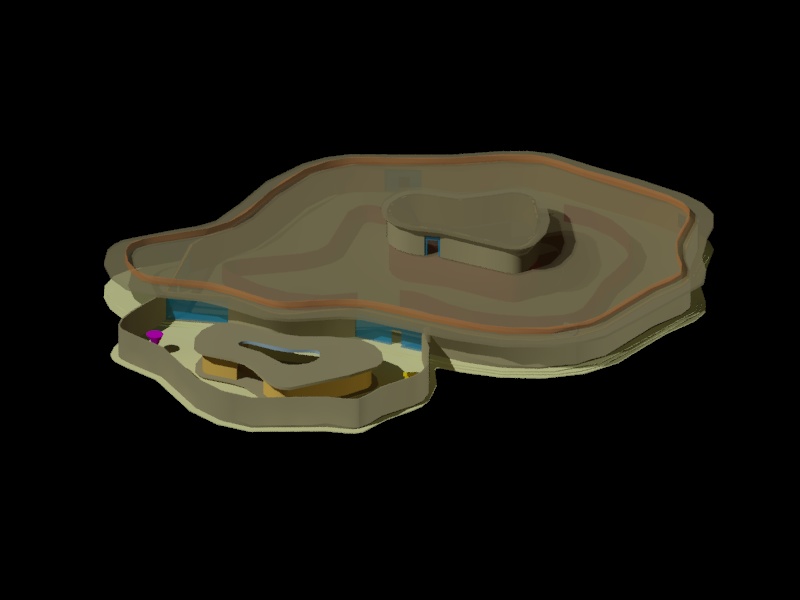
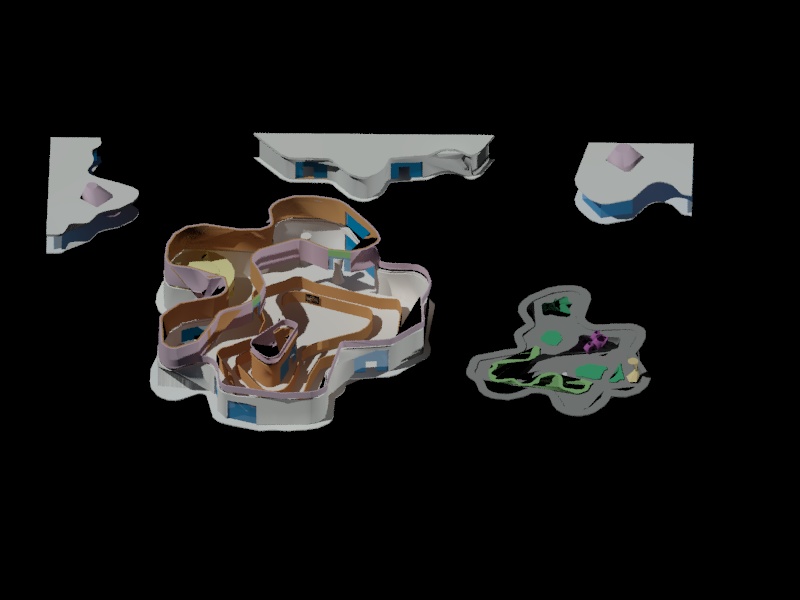
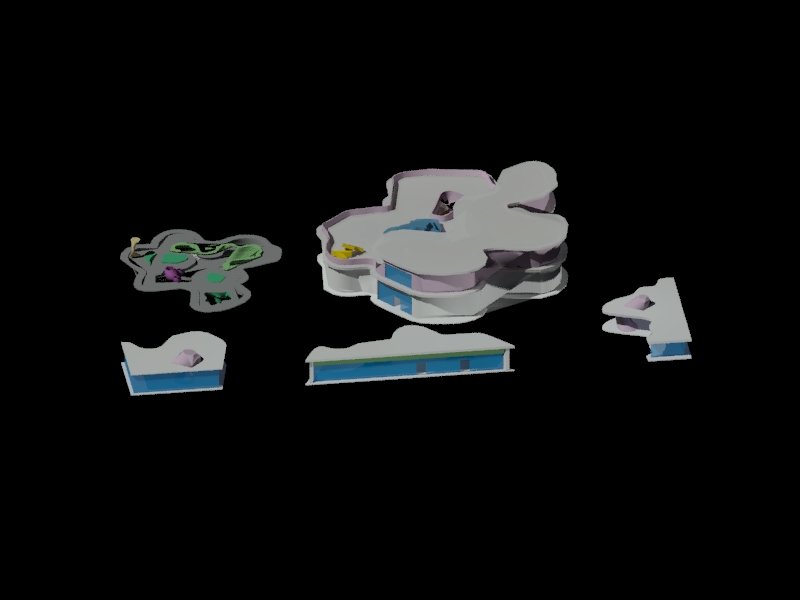
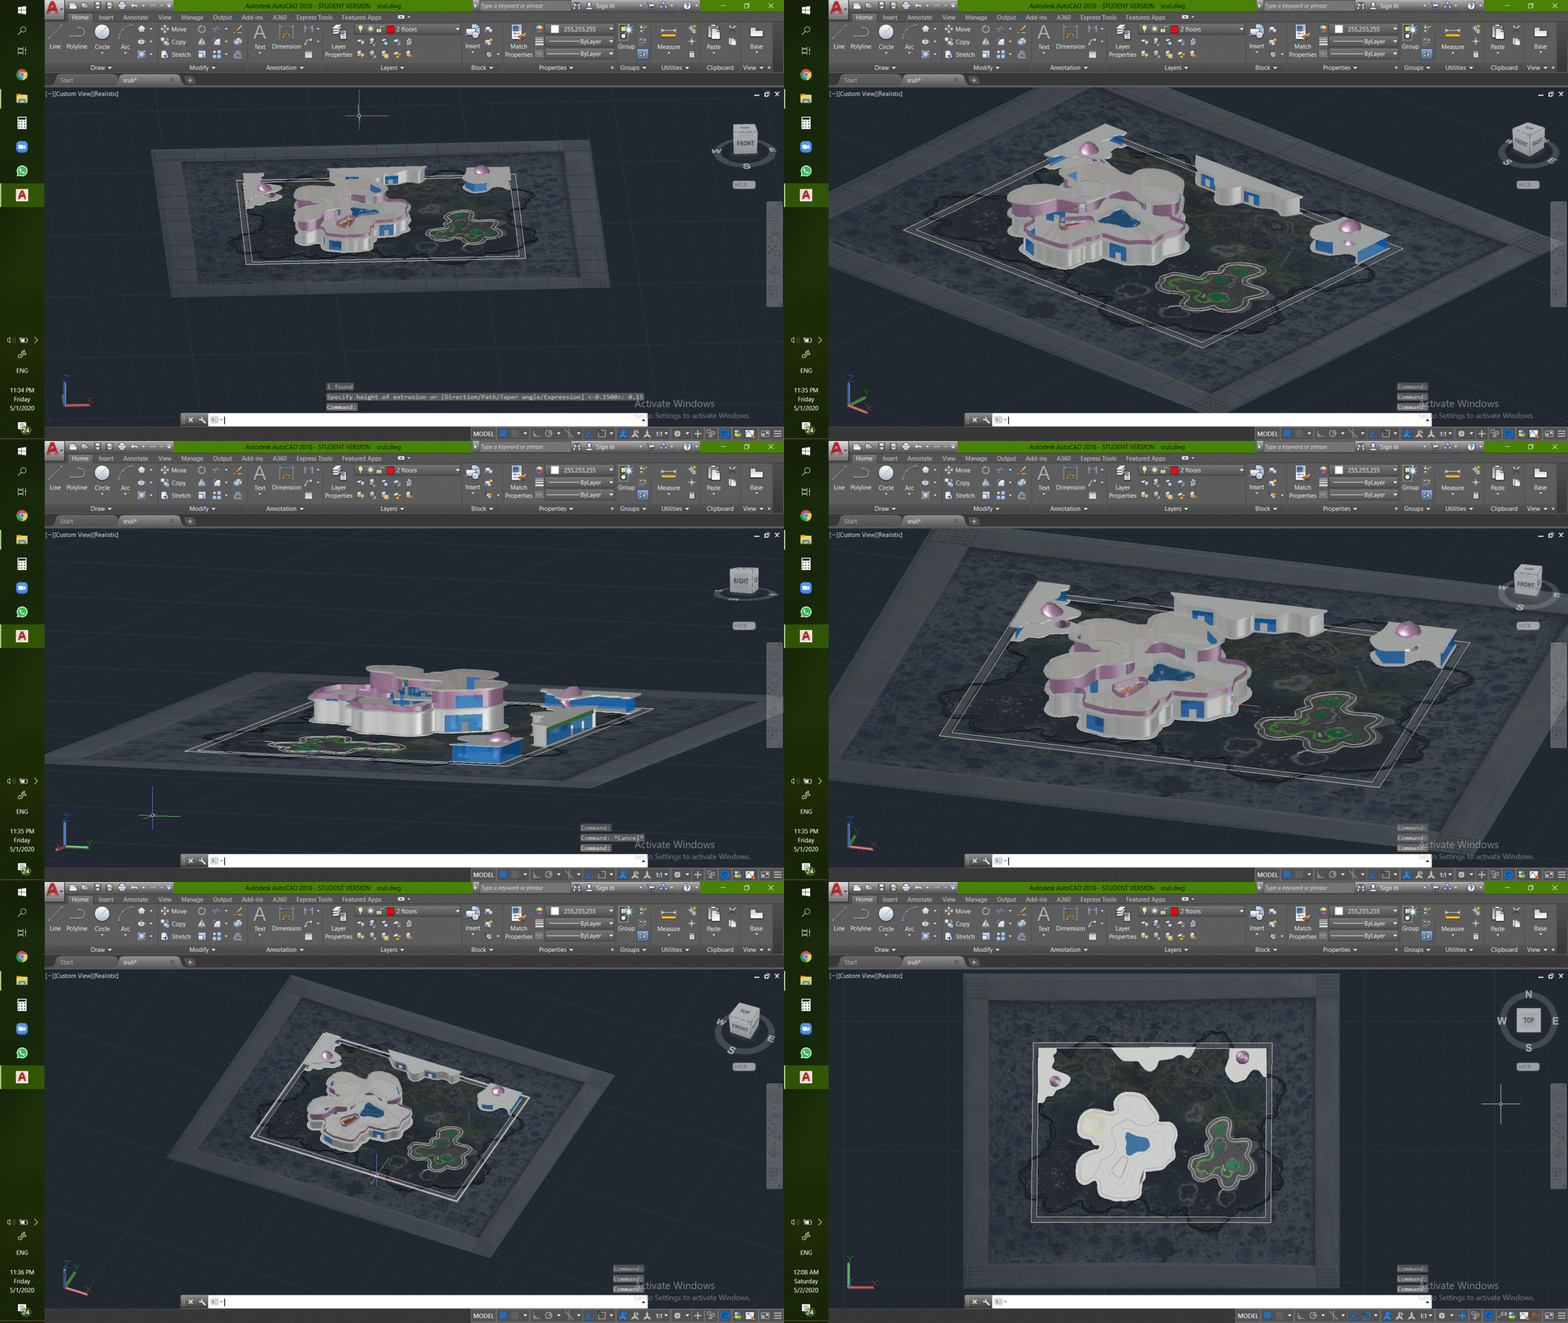
For the final delivery  of the first phase we had to create a building, art gallery from the painting. I have chosen one of the Abstractions of the 20th century Georgian artist David Kakabadze.
Here I present two versions of the building.


Second Version of the building


Comments

Popular posts from this blog

Volumes and Surfaces.

On the  21st of April we learned to build different shapes using several commands. Using pline command we drew the shape and extrude d it normally, perpendicularly to the plan. We drew an inclined line towards the plan and extrude d the shape choosing Direction . Then we drew a circle and an inclined curved line (command spline ) and extruded choosing Path . We can make extrusion -choosing taper angle. We built a cylinder by extruding a circle. It was solid. To make it empty inside, we made another cylinder by extruding a smaller circle, fitted it to the first cylinder and substracted .  And decreased the transparency of their layer. Another substraction between cylinders. We can fill the different polygons with the tool region   and use substraction command. After building the "construction" for the new surface, we used the command:  Edgesurf . We can Thicken it. To create a loft   we dr...

Phase II - Final Delivery

For the final delivery we had to insert dwg file to 3Ds Max and give it more realistic view.This could be reached by giving materials, transparencies and colours to the building. We could also set inside and outside light sources to create shadows, which better express shapes of the volumes.The main material in my Art gallery is concrete, which, in my opinion, looks more natural with the grass on the roof and on the  ground. In the interior red curved walls create maze-like space to help visitors get lost in the world of art masterpieces.Ramp can be used to go to the second floor and veranda.Moreover, there is an outside exhibition space which goes below the ground level and can be reached through the concrete stairs.  See the longer version of the video on the link Link- For 3DsMax file, renders, video, materials, artworks,music

Parabolic surfaces, 3D Figures

 On the 3rd of March we learned to create parabolic surface and other 3D figures. For creating a parabola we built 2 perpendicular axis and marked two spots - Vertex and Focus (which's distance from the vertical axis is twice in comparison with the distance between Vertex and the same axis.) From the spot F we built concentric circles by offset ing for one and the same number.  Then we drew lines keeping the same distance. Using spline tool and the crossing points of the circles and lines we drew a parabola. To build a surface with a thickness, we  offset ed the curve of parabola and added the edges. We used Revsurf to build a parabolic surface from the parabolic curve and the axis. And repeated it twice for the second parabolic line and the edge. We can enter command Shade for better visualisation. Using a horizontal axis we can create a different surface. In this case i used 3Drotate to change the position of the figure. ...